
Tanya here today for a little something special for you all :)
Have you ever tied a bow to only have one of the tails in the back and one in the front? Well if you have or you just don't like the way you're bows come out than you need to get a Bow Easy I was know I was hooked the first time I used it :) Perfect bows EVERY time!!!! You can do single, bows, double bows, triple bows...whatever you want. I don't know how I have lived without this thing! :) With this bow easy you can make bows in the following sizes: 3/4", 1", 1 1/4", 1 3/8", 1 3/4", 2 3/8", and 2 3/4"
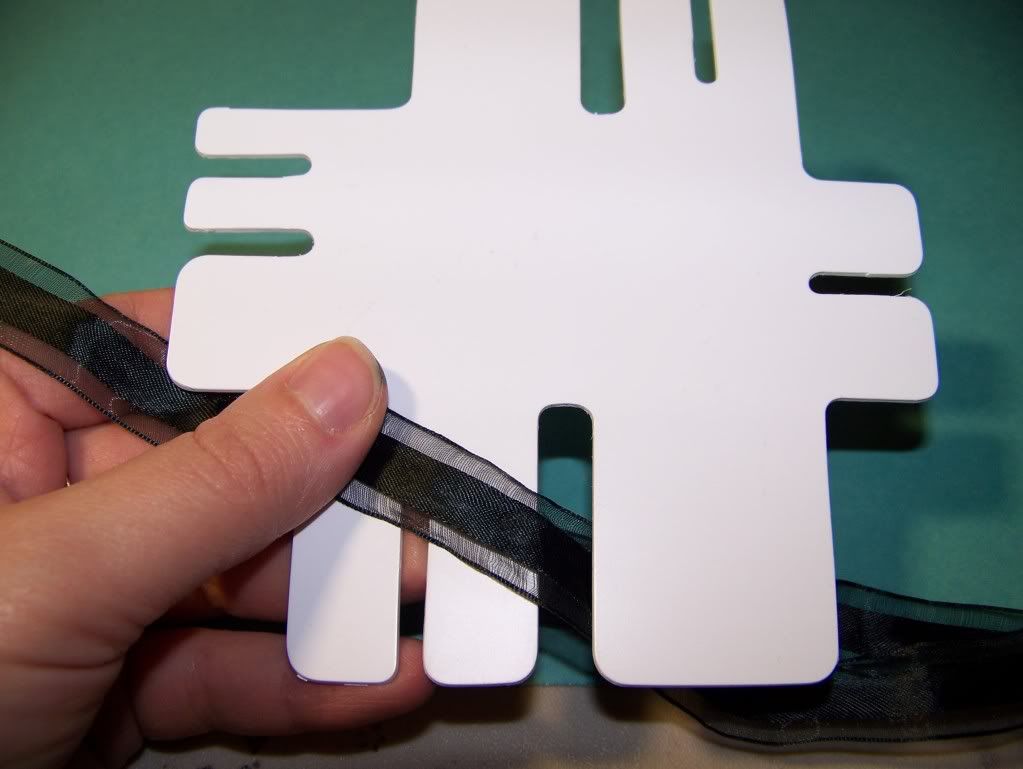
Step 1: hold the bow easy in your hand with the size you want to make closer to you. Hold the bow easy and one end of the ribbon securely between your thumb and pointer. (see photo)
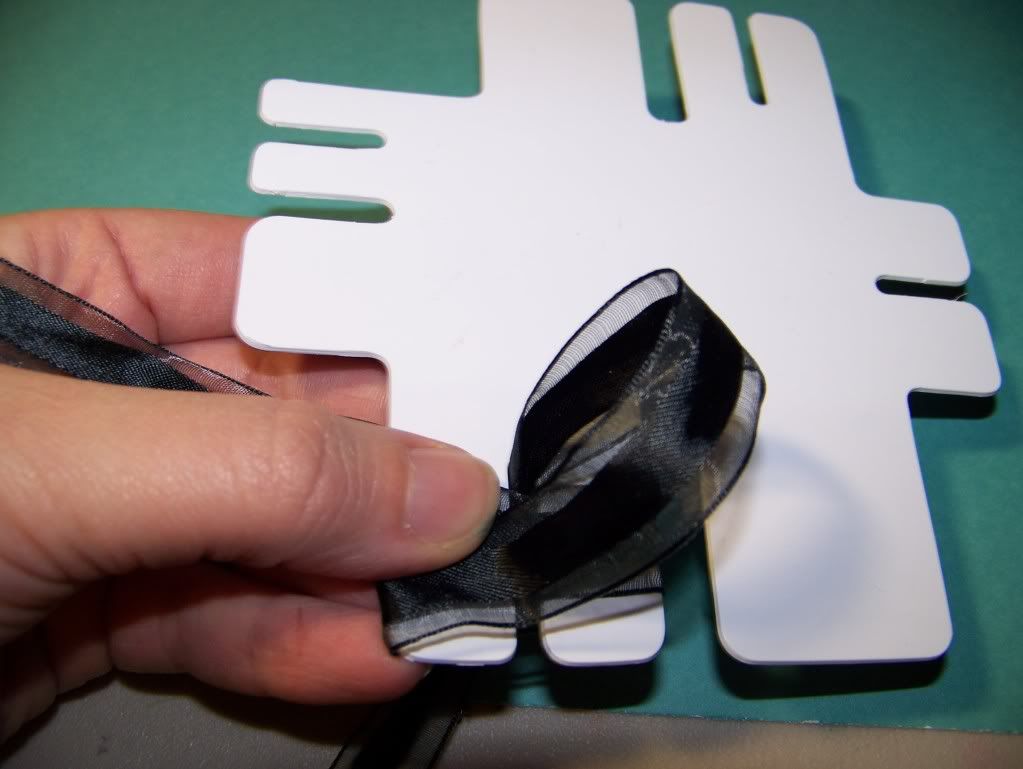
Step 2: Wrap the ribbon around the template so that the tails will cross over each other on the top. (see photo)

Step 3: Pull the tail that is crossing over the top through the middle so you forming a loop. (see photo)
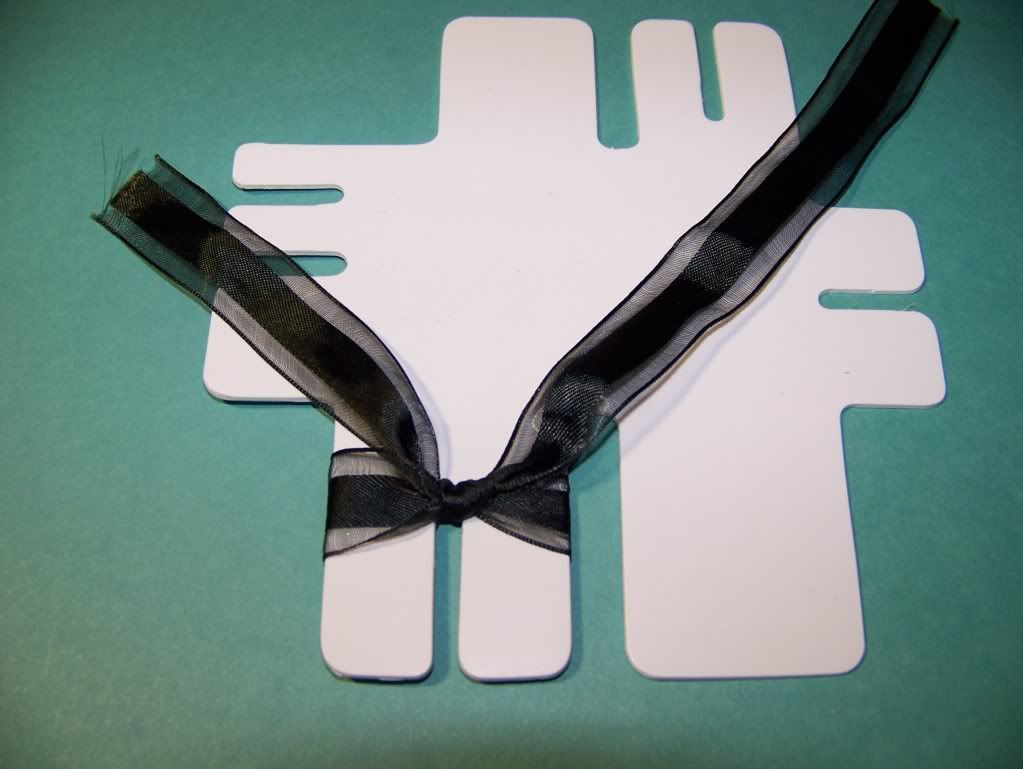
Step 4: Pull the tail back around and through the loop. (see photo)
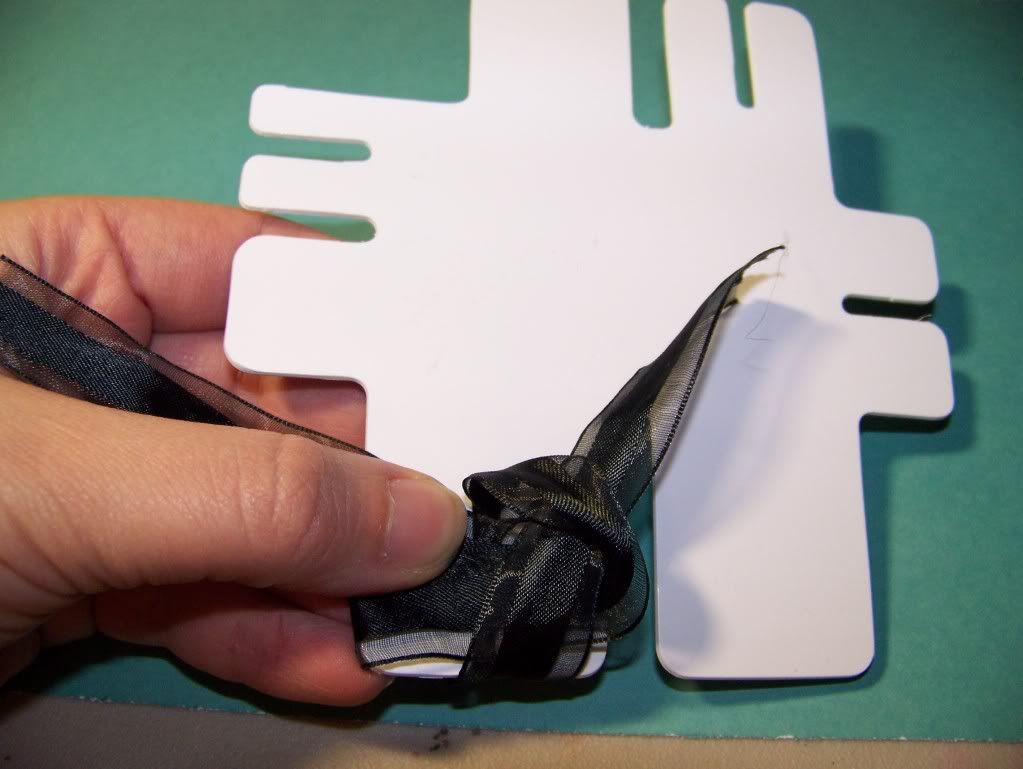
Step 5: Tighten the bow by pulling on both tails (see photo)
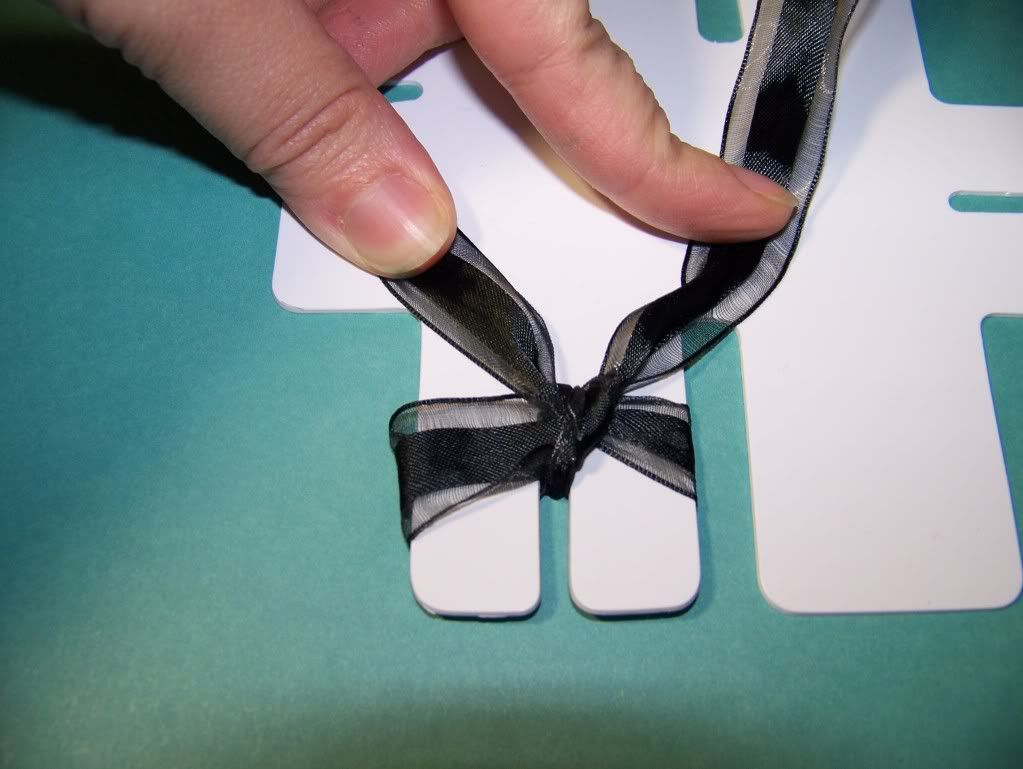
Step 6: This is the back view of the bow after your are finished, still on the template
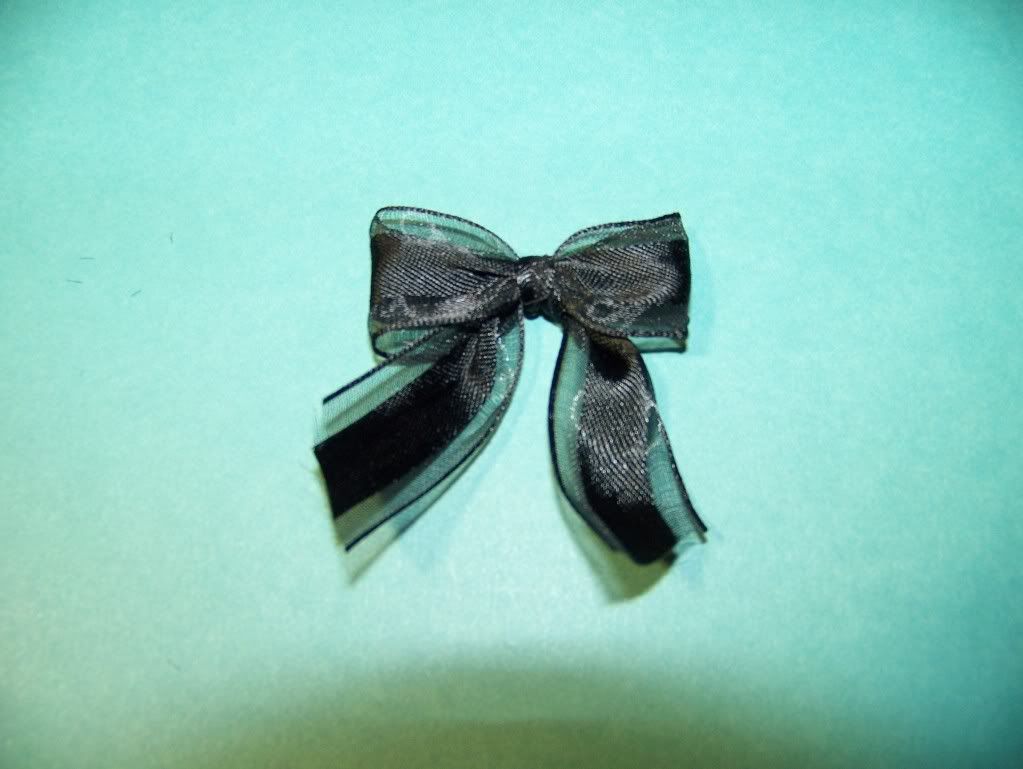
Step 7: Pull the bow off of the template and trim ends to your liking.
If you want to make a double bow, repeat step #2 again before moving on to step #3. If you want to make a triple bow, repeat step #2 once again before moving on to step 3.
Have you ever tied a bow to only have one of the tails in the back and one in the front? Well if you have or you just don't like the way you're bows come out than you need to get a Bow Easy I was know I was hooked the first time I used it :) Perfect bows EVERY time!!!! You can do single, bows, double bows, triple bows...whatever you want. I don't know how I have lived without this thing! :) With this bow easy you can make bows in the following sizes: 3/4", 1", 1 1/4", 1 3/8", 1 3/4", 2 3/8", and 2 3/4"
Step 1: hold the bow easy in your hand with the size you want to make closer to you. Hold the bow easy and one end of the ribbon securely between your thumb and pointer. (see photo)

Step 2: Wrap the ribbon around the template so that the tails will cross over each other on the top. (see photo)

Step 3: Pull the tail that is crossing over the top through the middle so you forming a loop. (see photo)

Step 4: Pull the tail back around and through the loop. (see photo)

Step 5: Tighten the bow by pulling on both tails (see photo)

Step 6: This is the back view of the bow after your are finished, still on the template

Step 7: Pull the bow off of the template and trim ends to your liking.

If you want to make a double bow, repeat step #2 again before moving on to step #3. If you want to make a triple bow, repeat step #2 once again before moving on to step 3.
No comments:
Post a Comment
Thanking for your comments stamping friends!!